CANVASES
When you select "New Project," a workspace called a canvas will open. This is where you'll organize your elements and build your project.
Each canvas has two default elements. An Initial Multi-Trigger element, and a System Element. When there are no elements other than the default elements on the canvas, it will prompt you to add one.
Controlling your Canvases
You can add, remove, and edit your canvases using the canvas selector on the left side of the screen.

- Minimize: Lets you adjust the canvas selector view's size.
- Fire Queued: Plays the initial multi-trigger element in your qeued canvas.
- Stop: Stops all currently playing elements.
- Selected Canvas: When you select a canvas by clicking it, it will be highlighted in orange. This is your active canvas showing in your window.
- Canvas Number: You can assign your canvas numbers to help organize your cues. These numbers will appear in the lefthand column.
- Canvas Name: Name of the canvas.
- Queued Trigger: The currently queued trigger for that canvas' initial multi-trigger element.
- Queued Canvas:Your next-in-line canvas.
- Add Canvas: Adds a new canvas.
- Remove Canvas: Removes selected canvas.
- Audio Files Selector: Opens the audio file selector menu.
- Element Options: Opens the element options menu.
- Element Selector: Opens the element selector menu.
Organizing your Canvas
- Snap to grid: You can select snap to grid in the canvas menu. This will snap all elements to the canvas grid.
- Nudge: Use the left/right/up/down arrow keys + Shift, to nudge elements by 1 pixel.
Zooming Canvas
Double Click on canvas: Double clicking on the canvas will toggle between normal zoom, and zooming all the way out.
Pinch: Use the trackpad to pinch to zoom in and out. You must be on an empty part of the canvas.
Selecting Multiple Elements
- Click and drag on the canvas to draw the selection rectangle. Any elements which fall within this rectangle will be selected.
- Shift + Click on an element will add to the selected elements.
Element Selector Menu
The element selector menu allows you to drag and drop any elements into the canvas. Holding CMD (⌘) while dropping an element will open a prompt allowing you to enter multiple elments at a time.

Element Options Menu
The element options menu allows you to adjust parameters of the currently selected element. The tabs on the left present the user with different options available to the user, depending on the selected element type.
Basic Options
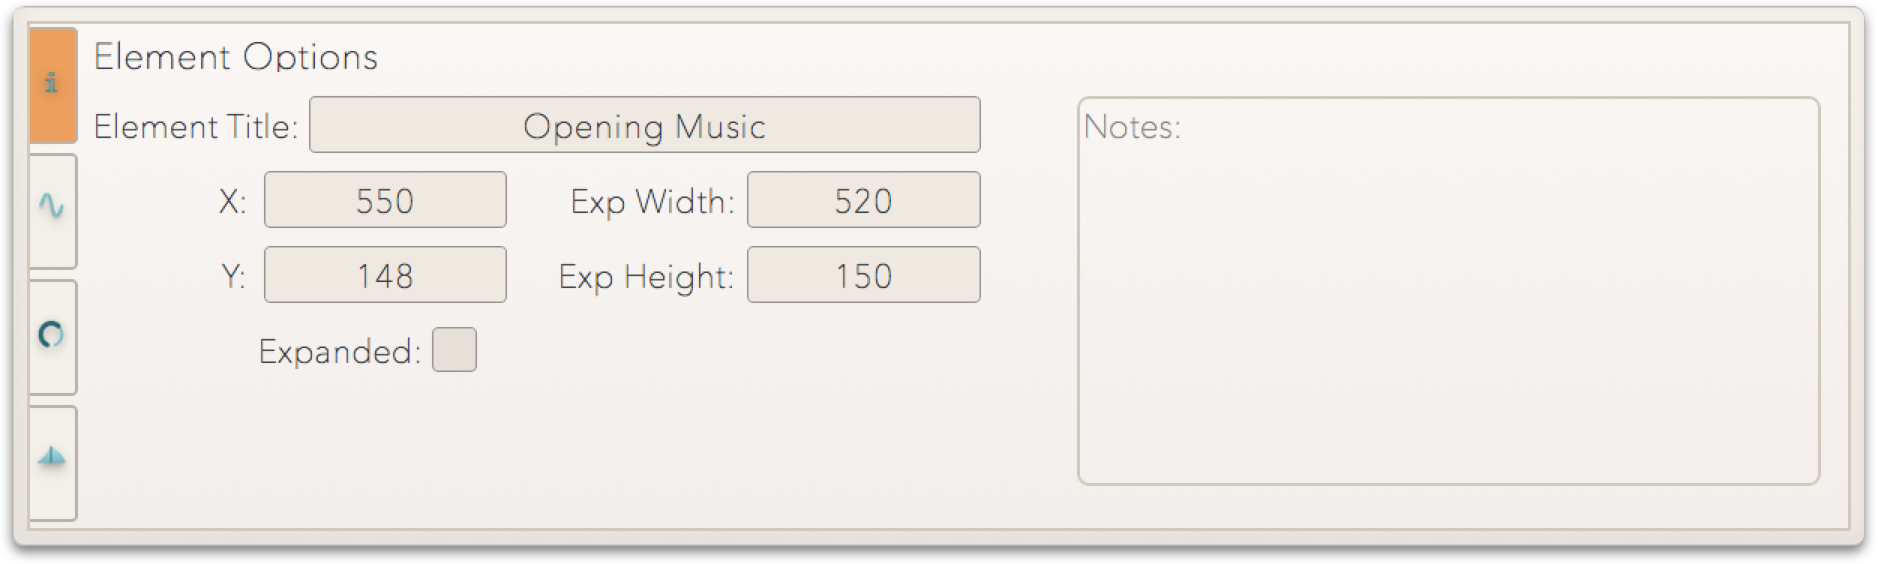
- Element Title: Is the name of the element given by the user. If no name is entered, a default value will be set.
- X: The X Position of the element on the canvas.
- Y: The Y Position of the element on the canvas.
- Exp Width: The width of an expanded element.
- Exp Height: The height of an expanded element.
- Expanded: Toggles an element between collapsed and expanded.
- Notes: Add any notes to an element you would like.
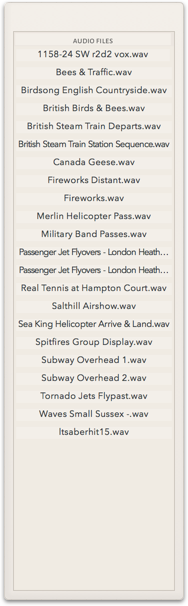
Audio File Selector Menu
The audio Files selector menu shows all the audio files which you have in your project. You can drag and drop from the table onto a canvas.